Soldering Not Melting: What Could Be the Reason?
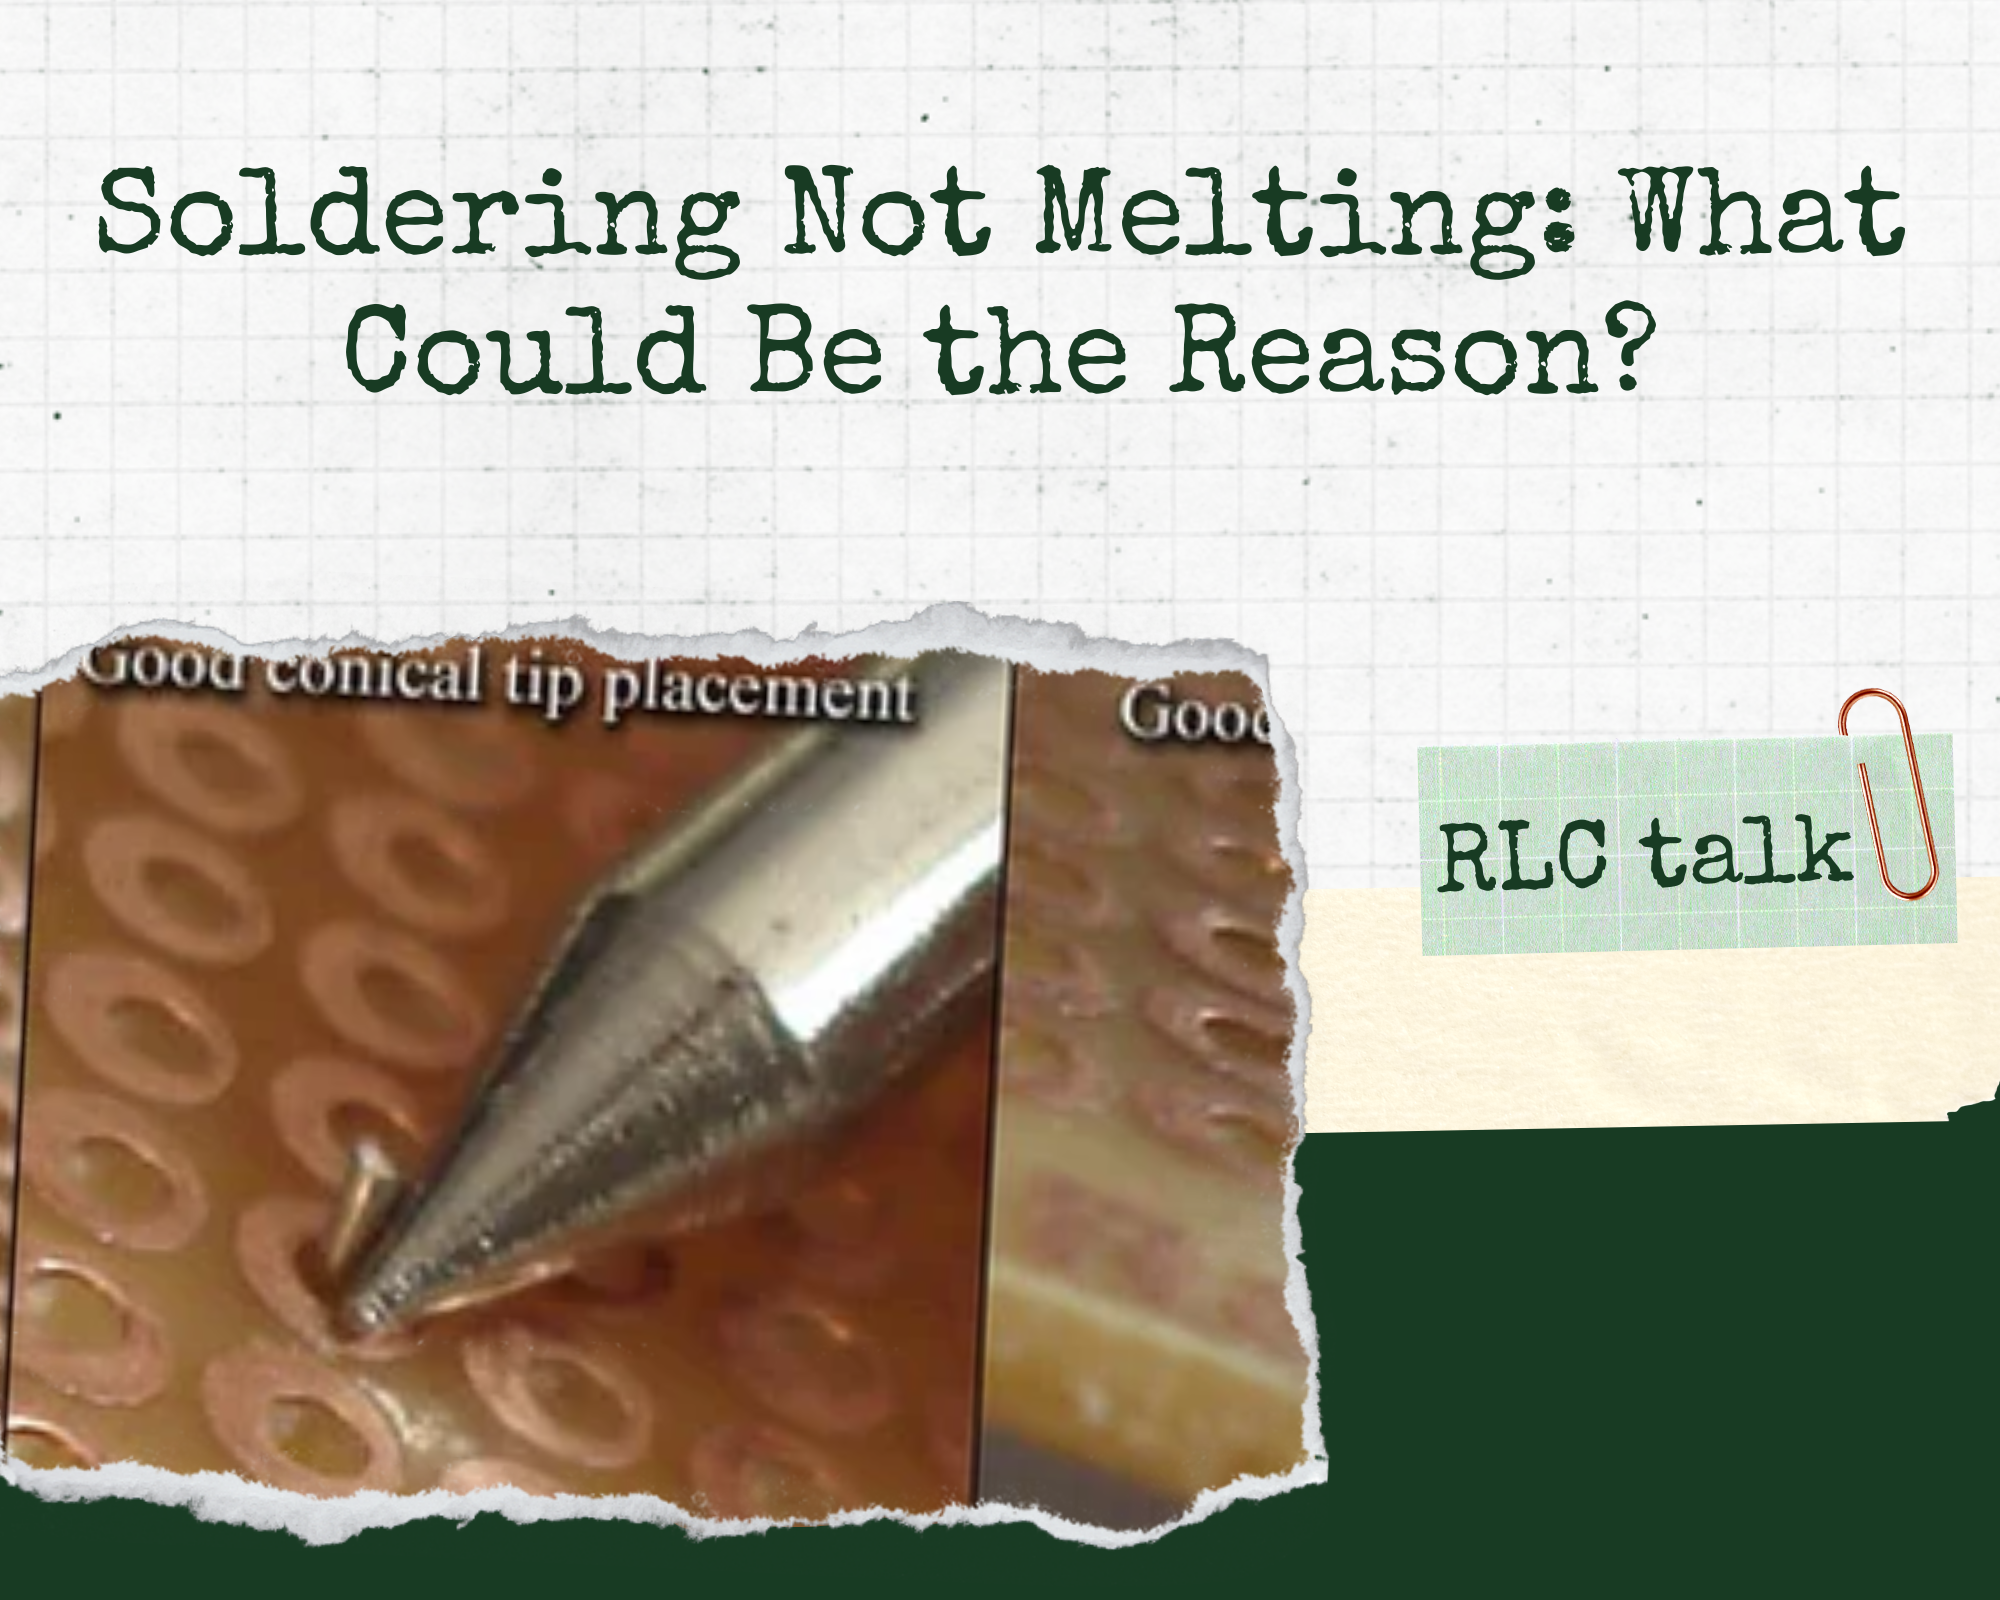
The soldering usually has a very low melting point when compared to the other alloys. So when it is not melting, the most usual reason is that the soldering is not receiving enough temperature for melting. So the first thing you have to check is whether the soldering tip is heated well or not. To check you can check it by using a piece of paper, and if it fires up then you can assume that the problem s not with the heat.
In this article, we discuss why the soldering is not melting and the methods to fix the problem on your own. So stick around until the end to find out what you’ve been looking for.
Why won’t my soldering iron melt any solder?
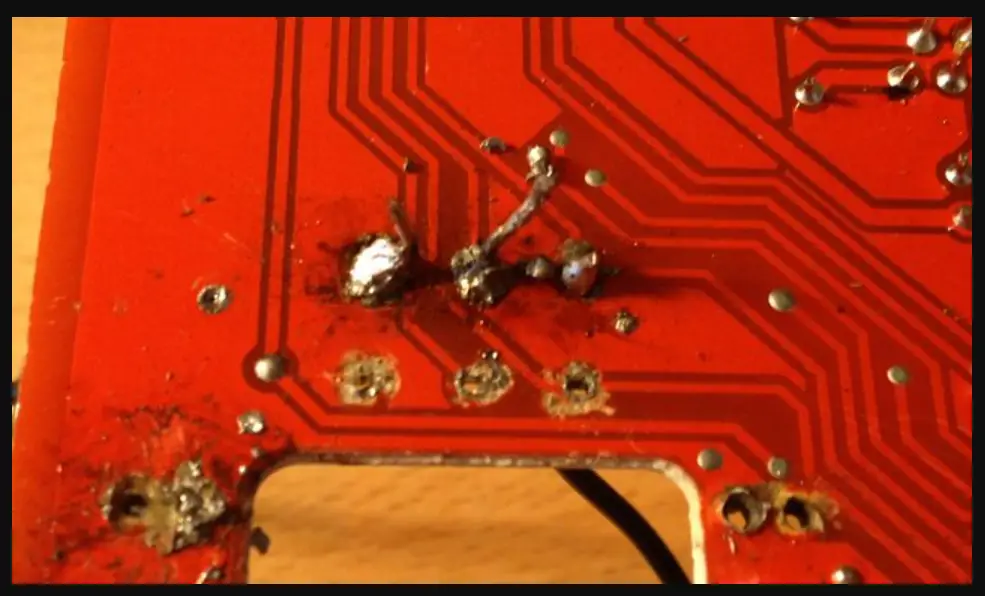
It may not carry heat into soft solder well enough to melt it if it is oxidized, especially if copper is covered with iron, as is the case with many bits.
To see if it cleans it and if it makes it steam, wipe it with a damp sponge. If it does, you will get burned because it is hot. Bakers Solder Fluid will clean your bit, or if it’s particularly resistant, you can try some fine grit paper. By installing a new bit, you might benefit.
Between power-ups, there is a very small chance of an element fault, but you’d have to be unfortunate.
To try and improve heat transfer, you should also remove the bit and clean the element stem. To assist with this, some people apply silicon grease.
- Bad soldering method.
poor soldering methods Your soldering skills will be considerably improved by mastering the soldering technique. Even melting solder with a soldering iron can be difficult for most people with an ineffective soldering technique.
- Not enough heat.
It will be impossible to melt solder when the heat transmitted to the soldering iron tip is relatively low. In general, when working with lead-based solder, it would be preferable if you always choose a soldering iron with a temperature between 650 and 750 degrees Fahrenheit.
On the other hand, when using lead-free solder, a soldering iron with a temperature of more than 800 degrees Fahrenheit is recommended. The temperature of the soldering iron tip is frequently greatly influenced by these variables.
- Rusty parts.
Copper oxidizes quickly when left out in the open for a long time.
- Soldering metal.
With a small brush and non-bleach abrasive, thoroughly clean the metal. Workbenches and other metal objects pick up dirt from your fingertips and absorb it.
For this technique to work, the oils and debris must be removed. After cleaning, run water across the metal; if there are no droplets, the metal is sufficiently clean.
- Not enough time to heat up.
A soldering iron would be convenient if it could immediately achieve the highest temperature that has been set for it.
This is unfortunately not feasible. It takes some time for a soldering iron to achieve its highest temperature.
Every soldering iron will also have a different start-up time. As a result, you can run into issues if, like me, you try melting solder 10 seconds after turning on the soldering iron.
You can read the manufacturer’s specifications to find out how long it will take a soldering iron to reach a particular temperature and estimate how long you will have to wait.
Does Solder Conduct Electricity?
rlc guide
Now you know the reasons why the soldering is not melting and here comes the problem, how to melt the solder that is not melting?
How to fix the soldering not melting problem?
When fixing the problem, you have to take a look at all possible problems and go after them one by one.
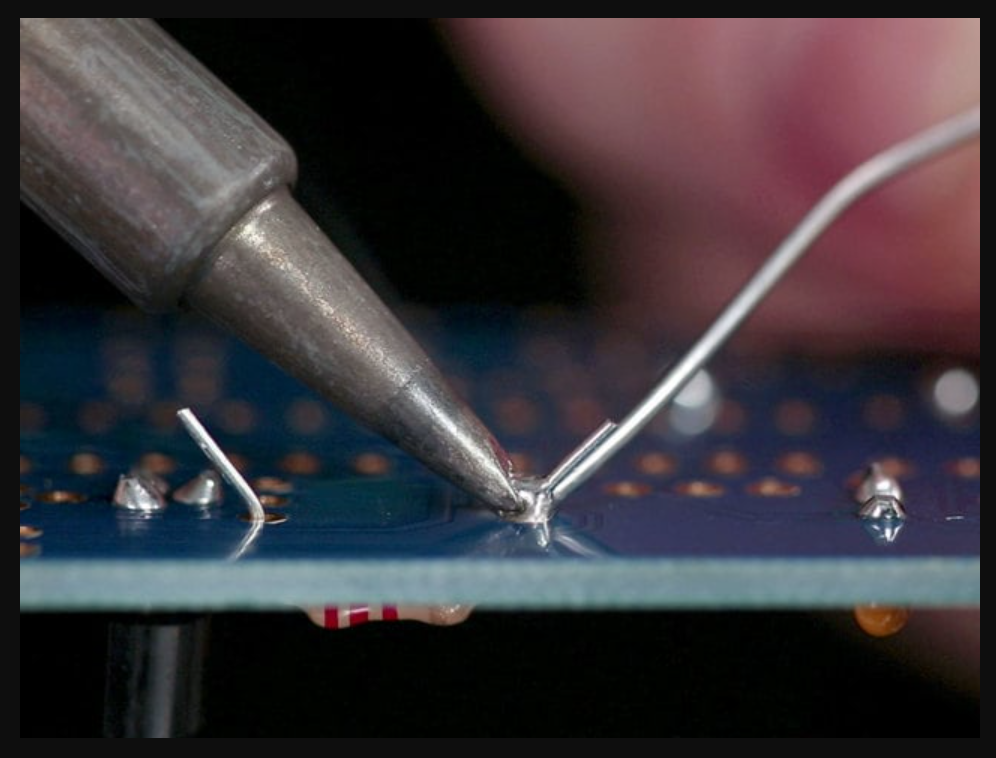
- Clean the soldering tip.
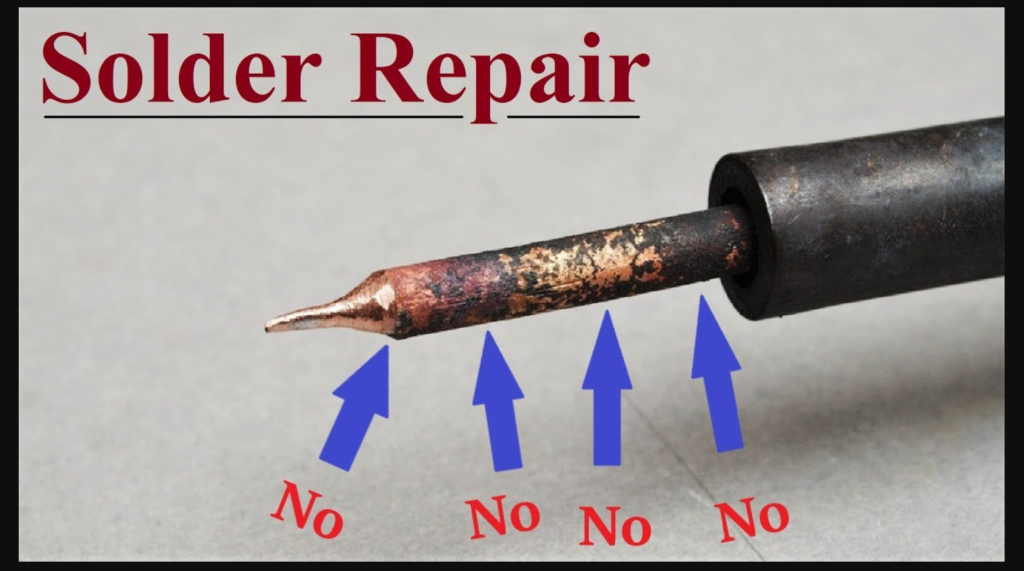
As mentioned, when the soldering tip is oxidized, then the soldering process will not work as expected. So the first thing is to take a look at the tip and clean it out using sandpaper if it is oxidized. Then heat the tip again and then try working. If it was not fixed the issue, then go to the second fix.
- Give it enough time.
In some cases, when the soldering is hardly fitted to the surface of the circuit board, it will need some additional time to heat up and melt. So try giving it some additional time to melt, and don does not forget that overheating the circuit board and the circuit elements can cause the circuit to fail. So you have to be careful about it.
- Is the soldering method correct?
You have to be aware of your soldering method making sure that it is the right way of soldering if you are a new one and have not much practice with it, then you try watching a YouTube video to make sure that you are not using the wrong method of soldering.
How Hot Does Soldering Iron Get?
Rlc talk
Final words.
Your tip’s working surface was harmed. Because a coating of oxides prevents direct metal-to-metal contact, the solder alloy no longer wets it.
By scraping off the oxide layer and reapplying the solder alloy, the tip might be repaired. This might not work depending on the kind, in which case the tip needs to be changed. Please take note of the following in order to prevent subsequent advice from being destroyed:
- Never exceed the recommended temperature or overheat the tip. Temperatures typically range from 340°C to 380°C. 400 °C is the maximum temperature, except for emergencies. The useful life of the tips is significantly reduced at the higher end of the spectrum, and over 400°C, they can fail at any time.
- Don’t leave the iron sitting around for too long. If no soldering is anticipated for the next 15 minutes, turn it off.
- Ensure that tin is always applied to the tip. Clean the tip after you’ve completed soldering, cover it with new solder, then turn the device off and put it away.

