LCD Displaying Black Boxes Instead Of Text | Arduino Troubleshoot
Have you ever completed an Arduino project only to have it display black boxes instead of text? If so, you’re not alone. Many people have experienced this issue, and it can be frustrating. We’ll explore some potential causes and solutions for this problem below.
What Is An LCD Display? Do You Know?
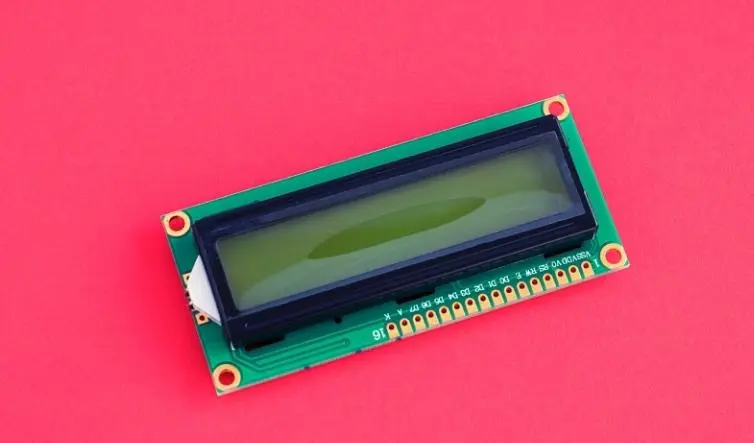
A display type known as an LCD (Liquid Crystal Display) operates using liquid crystals. In this, the computer’s serial input and upload the Arduino sketch. A platform for open-source electronics User-friendly hardware and software are the foundation of Arduino. The characters will appear on the LCD.
Why Does the LCD Display Black Boxes Instead of Text in My Arduino Project?
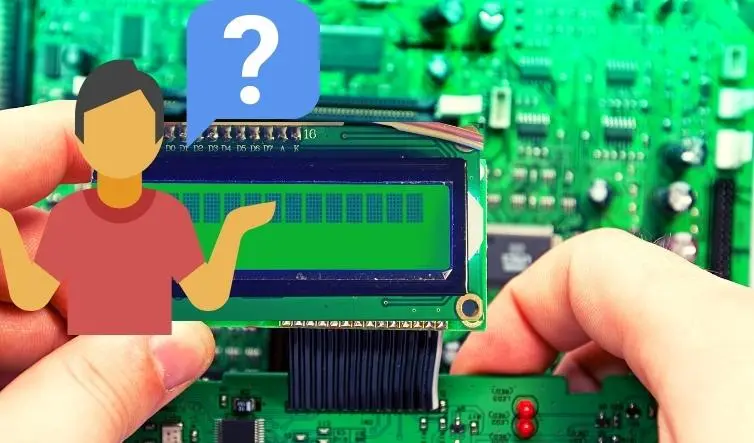
When developing an Arduino project, there are several reasons why the LCD displays black boxes instead of text. Reverse LCD adjustment pins or defective wiring may be to cause. Additionally, if the LCD is not connected properly, black boxes display. You must attach a variable resistor to the opposing pin and adjust your resistor, to resolve this black box instead of text in the Arduino project problem.
Why Is The Lcd On My Arduino So Dark?
There are several reasons why the LCD Arduino is so dark. Your power supply is the main cause of them. You could also have a bad resistor. Additionally, both your wiring and your coding could be flawed.
You can try grounding the opposing pin to fix this issue. If the contrast is still very low, the LCD likely has a wide temperature range; therefore, you might need to apply a negative voltage to the opposing pin to increase the contrast.
How to Check If a 16×2 LCD Display is Working or Not?
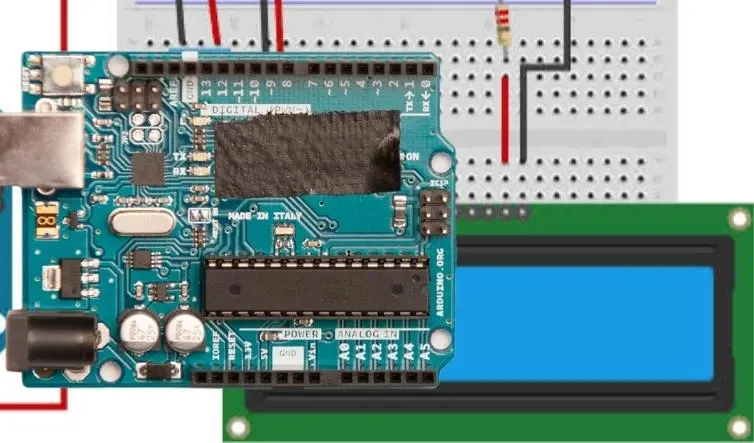
Are you concerned about the functionality of your 16×2 LCD? To determine if your 16×2 LCD is burned out or not working, follow the methods listed below.
- First, connect the VCC pin to 5v. Then connect the VEE pin and GND pin to ground.
- After that, connect Led to 5v.
- Connect the pin VCC pin to 5v
- Connect pin VEE and GND pin to ground
- Connect Led to 5v
- Connect Led- pin to ground
- After you perform this procedure, only the LCD bottom line will be bright. If your LCD is not working well, both those lines will be bright.
How to Turn On an LCD 16×2 Backlight?
The 16×2 LCD’s backlight can be activated or turned on by applying 5V from the Arduino and then touching pins 15 and 16 of the LCD. And this can be done by grounding pin 16. In addition, a 10K potentiometer is needed to change the LCD’s contrast.
Why is the Arduino LCD I2C Not Displaying Text?
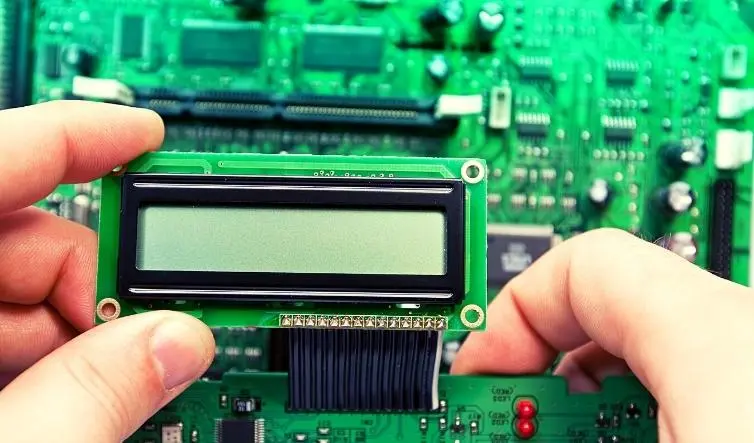
The I2C address and I2C backpack to LCD pin mapping must be accurate for an I2C LCD display to function. If either of the default settings in the library is off, or if both are, the LCD won’t function. To determine the correct pin mapping and address, you can try using an I2C scanner.
Almost all LCD instructions contain incorrect wiring for the reverse pot. It’s an error that has been made throughout time. The wiper should be connected to LCD pin 3, and one end of the pot should be connected to the ground (V0). The bowl’s opposite end is broken off.
The pot is, therefore, a variable resistor. Almost all of the LCDs utilized here had a 1K fixed resistor, which gave a good ground-to-V0 difference.
FAQ
